If you’re into SCUBA diving, there’s a good chance you’ll want to explore your options for taking pictures underwater. But how do you get into underwater photography without breaking the bank?
There are many inexpensive ways to begin your underwater photography hobby so you don’t have to spend a fortune. Investing your time in training and practice in the early days and starting with using simple but high-quality compact cameras and equipment will pay off far more than fancy UW camera gear. First, hone the really valuable skills of underwater buoyancy, working with unique lighting considerations, finding interesting marine life, and learning to compose interesting frames. Add in some good diving and practice time, and you can have share-worthy underwater photo images without huge costs.
Read on below for a handful of (free) things to keep in mind, as well as some economical options for photography gear, and you’ll be inspired to get started with some minimal investments.
That way, you’ll have more money in your pocket to spend on the actual diving, itself!
- 1. Don’t Be Intimidated by the Huge Underwater Photography Equipment.
- 2. Be Good at Diving Before You Start with Underwater Photos.
- 3. Rent or Borrow an Underwater Camera to Practice.
- 4. Consider a Smart Phone Housing Set-Up.
- 5. Stick with the GoPro
- 6. Awesome Compact Cameras for Underwater Photography.
- 7. Celebrate where you live and dive the most.
- 8. The All-Important Clip.
- 9. UW Photography Fun and Frustrations.
1. Don’t Be Intimidated by the Huge Underwater Photography Equipment.
First off, let’s be real. As divers, we see the amazing images from National Geographic – Oceans and Planet Earth from BBC America.
But, most of us just want to capture some cool memories of our dive vacations, and a small sense the awe we experience underwater to share with our friends and families.
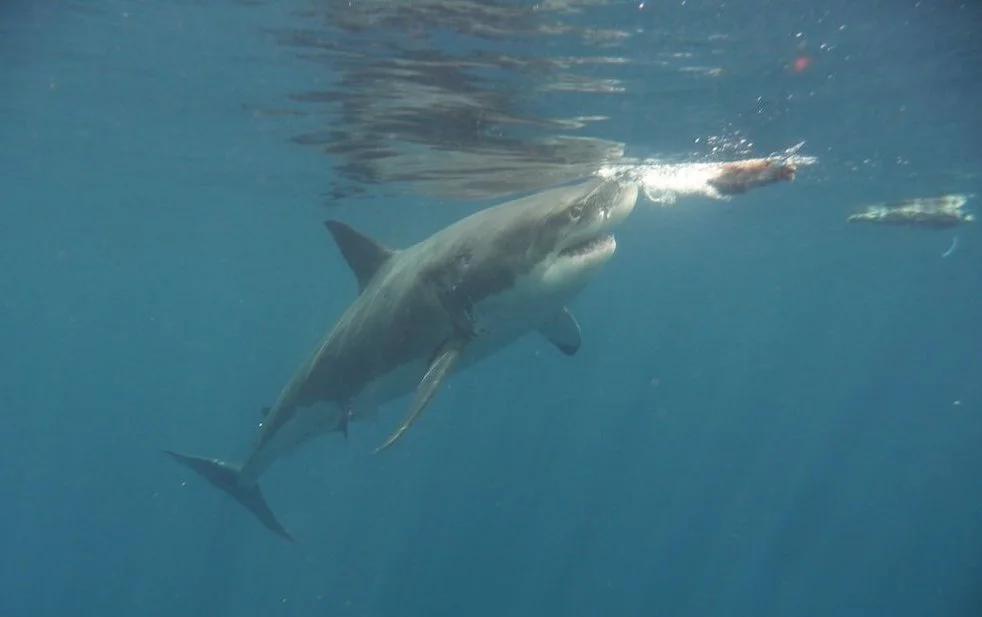
And of course to “prove” that we saw that HUGE great white shark or _________ (insert other very impressive marine creature here)!
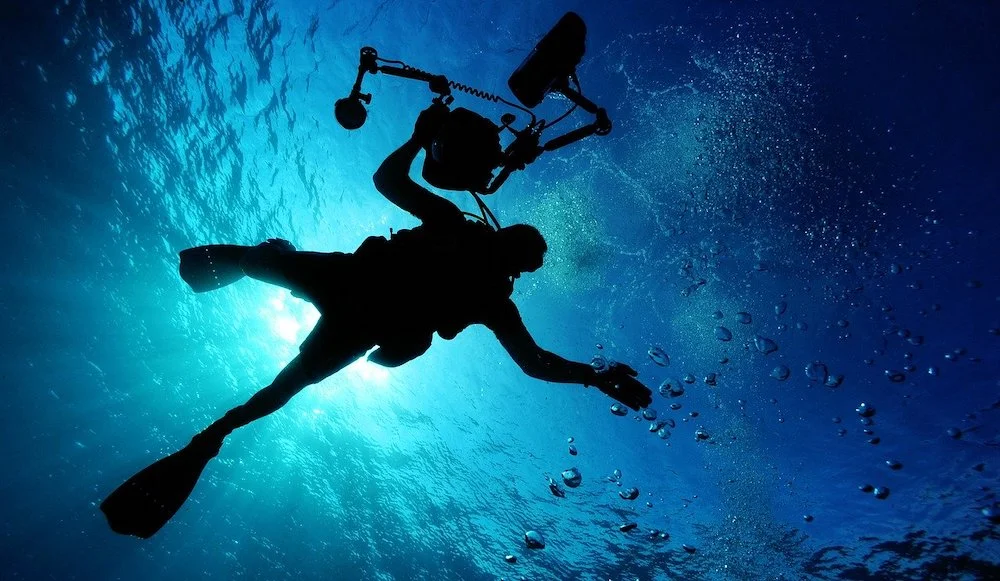
Meanwhile, we’ve also seen that guy on the dive boat. Huge camera rig with a giant dome lens, 4 strobes, video lights, and host of other accessories and gadgets.
And we’ve also seen the million great professional / semi-pro / amateur Instagram feeds of incredible marine life, by skilled divers all over the world.
This is all exciting! But, it also might seem intimidating. And too expensive! (It sure did to me.)
If any of the above is true for you, read on. The truth is, you don’t need to spend a lot of money to start learning how to take good pictures underwater.
2. Be Good at Diving Before You Start with Underwater Photos.
This is the most important tip – both for diving and for underwater photography.
Just be honest with yourself, and watch the masters. Make the skills of diving your first priority.
Some people take a little longer than others to get their fundamentals of diving down pat, and to get their buoyancy dialed in and on point. And that’s not only OK, it’s quite common.
But then there are many other new divers that just cannot wait to take that GoPro down on a dive, so they can show everyone how cool it is down there.
It IS cool. We get it.
But you won’t get better at diving if you’re busy monkeying around with a camera before you have your fundamentals down. And you will likely touch things and kick some coral and stir up some sand or silt – which is terrible for the environment and will not make your fellow divers happy at all.
You want to be calm and smooth, so you don’t scare your subjects away.
You should be able to maintain a steady “hover” so you can frame the shot and get a good focus.
And you need to do all of this without touching the bottom, or dragging your fins, or using any other physical sticks or “crutches” that could damage the reef or disturb the bottom.
Truthfully? Without pretty solid skills and great buoyancy control, you really won’t get too many good pictures.
So be patient. Get good at diving, first. Learn about the locale and where the cool critters hang out. Look around, pay attention.
This has no additional cost, but the investment is priceless.
3. Rent or Borrow an Underwater Camera to Practice.
I’ve met many great divers that started taking pictures – and even invested in advanced, expensive camera gear – only to realize they don’t actually enjoy it that much.
Or it caused them to burn through their tank of air too quickly (common issue when you start out). Or it exacerbated the tendonitis in their shoulder.
Or, frankly, they just wanted to relax and enjoy their dives without dealing with more bells and whistles.
There’s surely no harm in experimenting. As with certain dive gear, in the beginning, your best bet might be to borrow or rent a simple camera and marine-housing for underwater use and see if you enjoy it. Does it feel comfortable? Do you get the sense you have an eye for it?
Can you take some shots, and still maintain your buoyancy control? Can you do it, and still stay with the group and/or maintain good cooperation with your dive buddy?
If all goes well and you DO enjoy it, you still might want to try out a few different brands and models before you decide to plunk down several hundred dollars – or several thousands of dollars, in some cases – for underwater camera equipment of your own.
Borrowing your buddy’s camera or renting gear from a good underwater camera outfitter for a dive trip or two could be a smart move.
Another great investment is to take an underwater photo course, like ones offered at the Underwater Photography School in Cozumel. You can try out different cameras and lenses, get instruction and advice, all while experiencing a great dive locale and a variety of sites and conditions.
Then, when the time comes to purchase your very own camera, marine housing and accessories, you’ll have a much better sense of what to look for, and what price point you’re comfortable with.
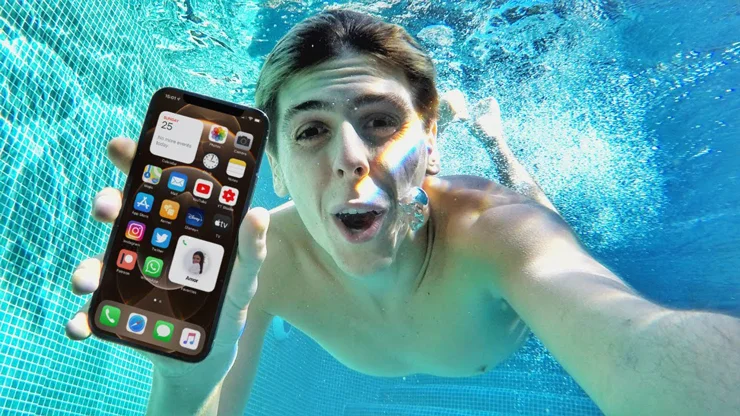
4. Consider a Smart Phone Housing Set-Up.
The smartphone has been said to make ‘everyone a photographer.’ Well, now that might also come true, even for deeper underwater photography.
Some people get started by taking a phone camera down when snorkeling and try it out just for fun.
I’ve seen some incredible snorkeling shots – great natural sunlight at work, and some cool fish and other animals that hang out in shallow water.
Mind you, it’s clearly a risk to use your main phone in an underwater environment. Also, many of the early underwater cases for the phones are rather lightweight, and not meant to take down below about 10-30 feet, max. Not good enough for typical recreational SCUBA diving depths.
IF you want to start slow and easy with a smartphone, just be aware of these limitations. Perhaps use an older, backup phone as the camera, so you don’t ruin your main phone.
That said, there are many very high-quality and trustworthy marine-grade diving smart-phone housings on the market now, and surely more to come.
Keep an eye out for brands like Kraken, Nauticam and Pelican (and other good ones) that create phone housings that truly stand up to the pressure of deeper water, and are used more and more for bonafide underwater photography.
This could be a great user-friendly and economical option – but do make sure to protect your phone with the right high-quality marine housing.
5. Stick with the GoPro
Everyone loves the GoPro, or similar small, high-def action video cameras meant for the outdoors and underwater.
I have one as kind of a ‘back up’ for fun, and it takes amazing, clear, and sharp underwater video in lower light conditions. You can also add a red or orange filter when diving in shallower blue or green waters, and you could set it up with a video light (though you won’t really need one, most of the time).
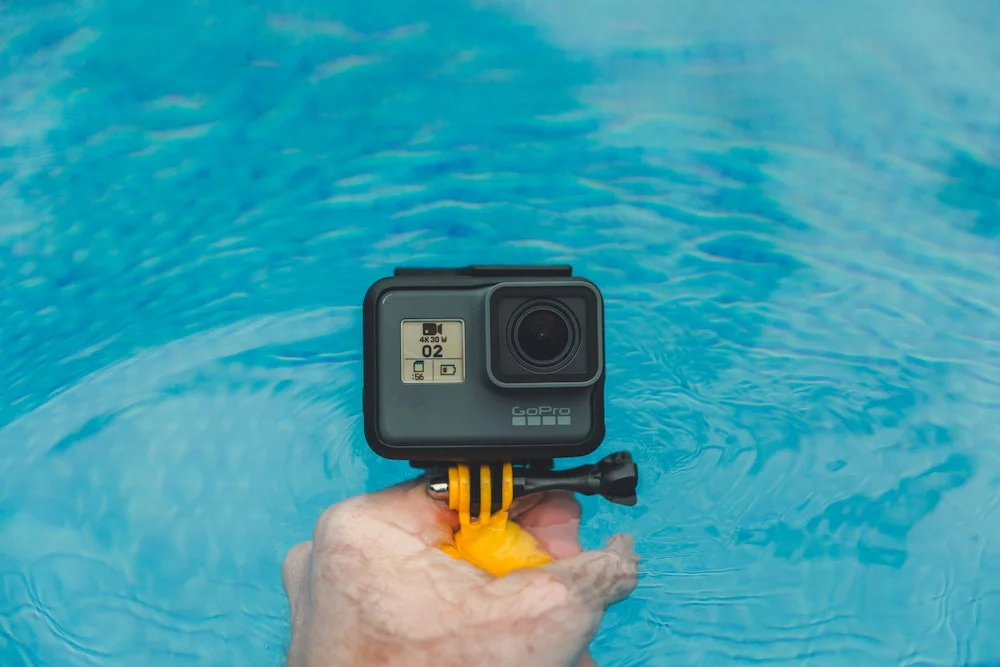
Bingo. Small, easy, low-maintenance, done.
These cameras are especially great for capturing wide-angle shots in clear water – like big schools of fish, or lucky encounters with larger animals like eels, sharks, rays, or dolphins, where you really want to capture the speed and motion, etc.
Keep in mind that the GoPro is not meant for still shots, and it’s really not meant for macro work – of those teeny tiny underwater critters that many of us love. There are accessories for this, but it’s not the first choice if you want to move toward macro photos.
But, if you just want to share the feeling of diving, or pull a few wide-angle still frames out for posting or framing or whatever, the GoPro is never a bad investment for a diver (or any traveler, IMHO).
You can use it for loads of other fun activities. And it certainly will fit in your carry-on, and not push you over the airline weight limits!
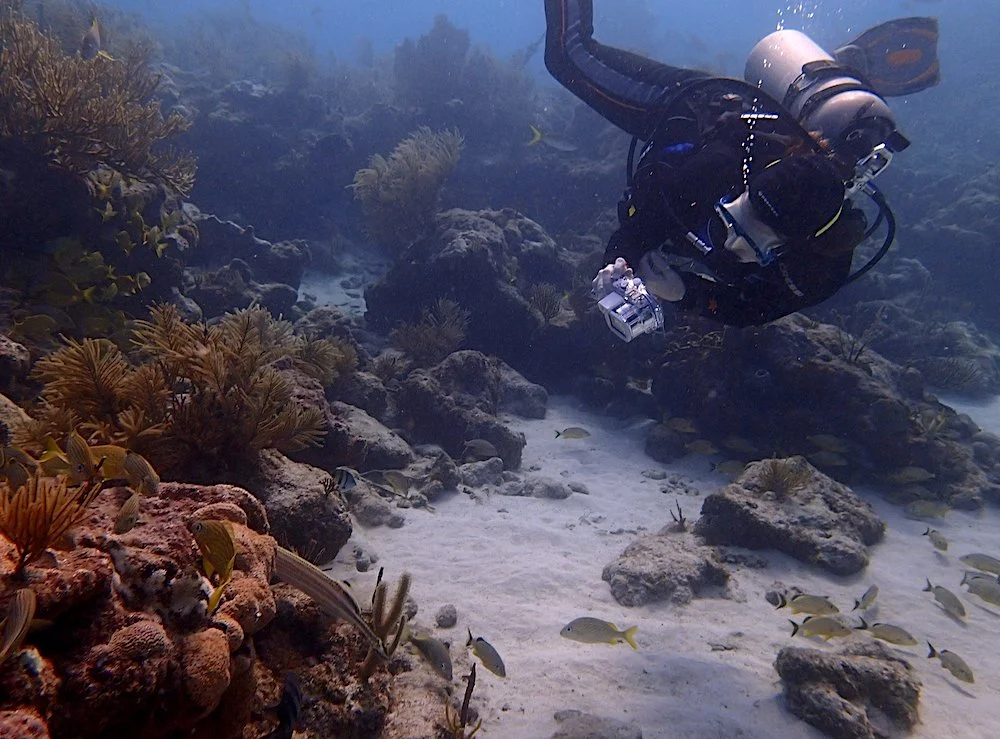
6. Awesome Compact Cameras for Underwater Photography.
Now, to the heart of it. These days, there are a lot of great compact camera options for the diver I’m speaking to, here.
You know you want to start in and grow your hobby, but you’d rather spend several hundred dollars, rather than several thousand. At least for now.
Luckily for you (and me) there are more and more new camera technologies that work well in underwater lighting conditions, have pre-settings to help real beginners get going, and are well-liked and supported by big camera retailers, so you can find lots of tips and how-to videos on You-Tube, photog websites, and all over the internet.
And all with smaller form factors, lighter weights, and very affordable price points.
To be honest, if you can’t take some pretty darn good pictures with a small, easy and user-friendly compact camera, chances are you’re going to have a really hard time mastering a huge, expensive DSLR rig-up.
Especially if you are a recreational diver who likes a lot of travel, variety and different types of sea life.
(In other words, see tip #1, above.)
Like thousands of other experienced underwater photography enthusiasts, I use the Olympus “Tough” series of cameras. I started with the TG-4 and now am up to the TG-6. I use it with the corresponding Olympus marine housing and the on-board flash. And that’s it.
These initial components are not “cheap” but they are for more economical and durable than some others. This camera, for example, is inherently waterproof up to about 30 feet deep, so if the housing floods on a deeper dive, you will not ruin the camera. That just one huge plus, especially for beginners.
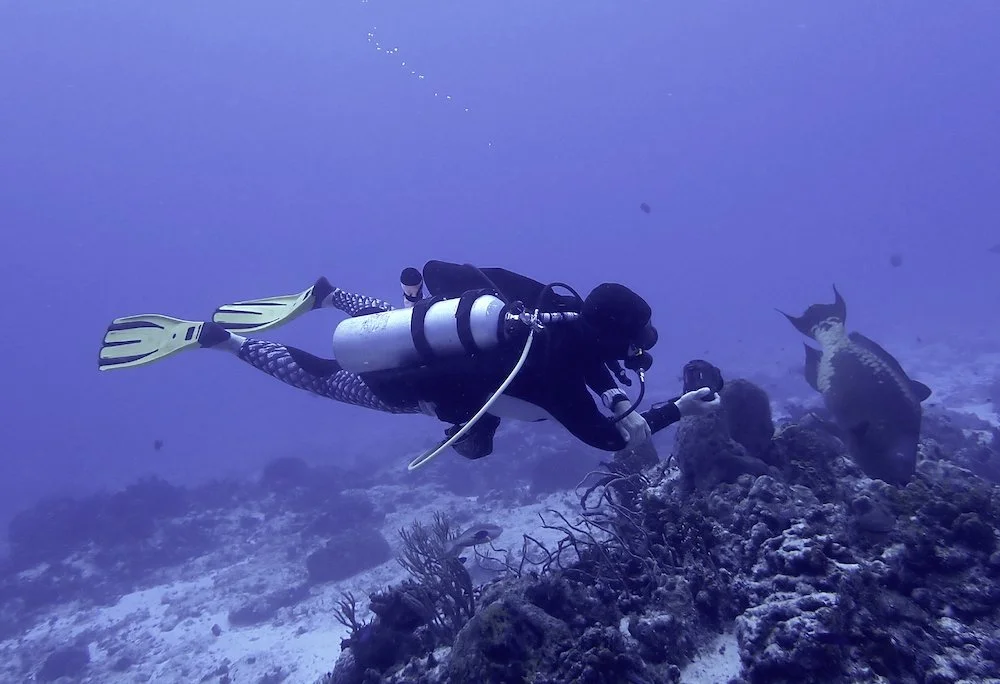
I also find that keeping my footprint small also allows me to maneuver into some smaller spaces and tighter spots than I could if I were to have a large, wide tray with strobes and so on.
Further, I can instantly switch from wide-angle to macro – and even the microscope mode – and back again, so throughout my dives I can capture whatever size animal I happen to encounter. Or at least I can try!
Side note: With some of the larger DSLR cameras and wet lenses, etc., you may have to decide which lens to set up before the dive and stick with that. So, for example, a great macro subject could appear, but if you have your wide-angle lens set in there, you might miss that opportunity. Just one thing to keep in mind, when weighing the pros and cons vs. your style of diving and dive travel.
My minimal setup has limitations, no doubt. Namely, with vast and very wide landscapes.
But overall, I also get a lot of pictures I’m quite proud to share, and have especially good results with macro shots. I find the day-to-day care and maintenance just about right, and I also maintain the ease and versatility of diving that makes me happy.
Diving is already kinda pricey, and already a little heavy on the gear for a lot of us, so keeping my camera gear to a minimum while still getting really great results? Well, again, for me, that’s the sweet spot.
That said, at any time, I could easily decide to expand.
I could decide to mount my current camera and housing to a “tray” (mounting ‘base’ with grips/arms to hold on to), add external strobes (vs. the internal “flash”), a video light, and even add on my GoPro camera, and have a kit with more professional lighting and wide-angle capabilities.
And if my skills and interest outgrow that? I could upgrade even further to a higher-quality (and significantly more expensive) DSLR camera, potentially still utilize some of the arms and lighting accessories, but then I’d know that my investment is well worth it. For me.
Plus, as a bonus, I’d likely find someone new and very eager to start learning on my gently used gear, and create another excited and hopefully non-intimidated newbie!
7. Celebrate where you live and dive the most.
We all have a bucket-list of dive destinations, and that list usually grows the more you learn about the sport and meet other divers who’ve traveled around.
And that’s great. But there’s no better way to get good at UW photography than practicing, and often tracking your improvement is really valuable when you shoot the same or similar subjects over and over.
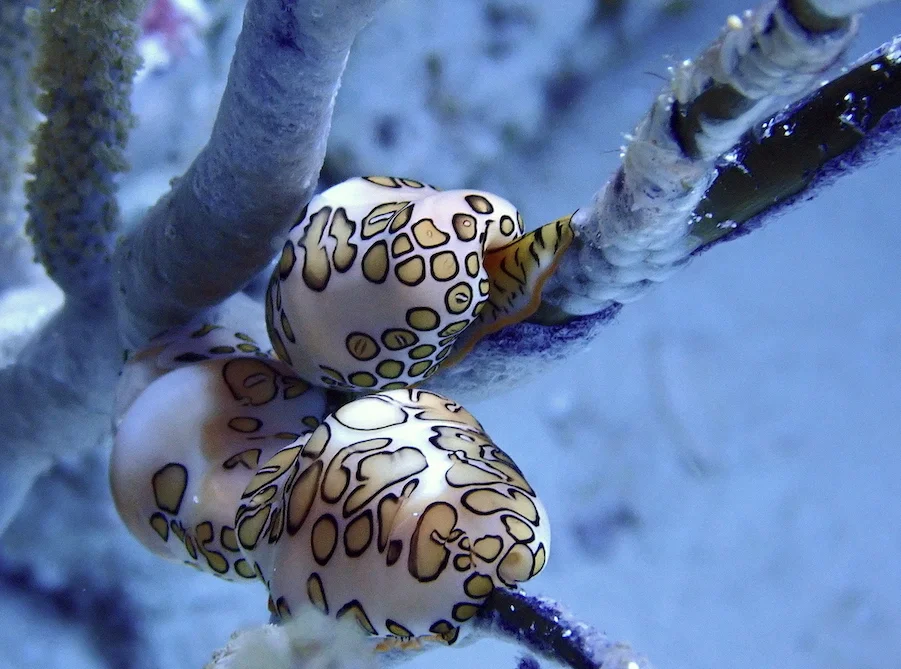
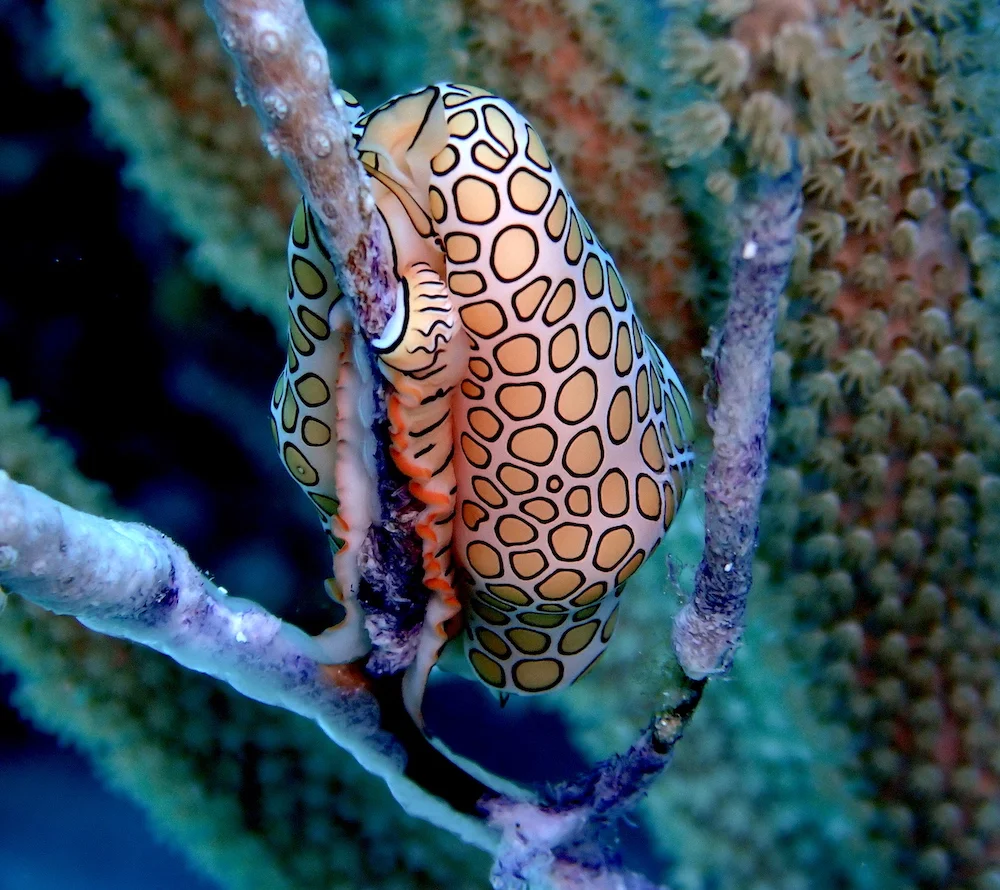
For example, my first underwater ‘muse’ subject was the Flamingo Tongue sea snail.
It took a long time before I had the first shot I was really proud of. And it was good. I printed it, framed it, and hung it in my apartment for a while, even. But in retrospect, rather drab and, well…basic.
Over the years, diving in Cozumel year-round has allowed me to experiment with images of that animal – and other local favorites, of course. As you can see in my blog I wrote about the Flamingo Tongue Sea Snails of Cozumel, I have now had the chance to not only find hundreds of them in different stages of life but also in different locations, lighting conditions, eating and reproduction behaviors, etc.
And it continues! I took this quick one, below, just yesterday. I still love seeing another slightly unique pattern of markings on the front of it!
The point is, that kind of repetitive training is invaluable – not to mention a big saver of money on far-flung airline tickets and hotels or expensive liveaboards.
There’s a place for that, of course, but for the rest of the year, don’t forget about your local dive area! Embrace it. Become one of the resident experts. Make local friends and share notes. And fine-tune your diving, buoyancy, and UW Photo skills in the process.
8. The All-Important Clip.
While tending to another task, I once dropped my camera and housing during a dive.
We went back, but no one could find it.
Then I did that AGAIN a few months later.
Then I bought one of these.
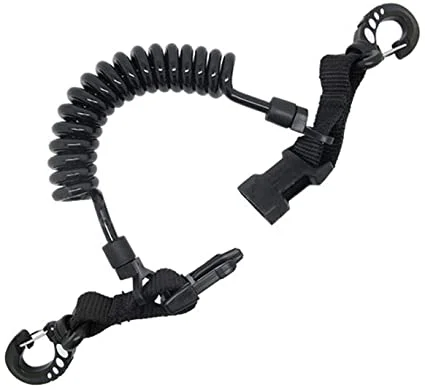
I’ve saved a lot of money ever since. Just do it.
9. UW Photography Fun and Frustrations.
Yup, you might lose your camera. There will be other mistakes.
You will get down on a dive only to realize your memory card is full, or still sitting on the boat, or back in the hotel room. Or that you forgot to put in the newly charged battery. Don’t feel bad or give up – it happens to everyone.
When I started taking photos underwater, I had a nice little Panasonic Lumix point-and-shoot compact camera, that luckily had a compatible marine housing on the market. So I just had to purchase the housing, and then I was ready to get some practice in. Minimal expense.
Well, no surprise: the practice was definitely needed!
Be patient here, too.
Understand that most people need a lot of good playtime to experiment, figure out camera settings, shutter timing, etc., to really find their groove with underwater photography. Plus, it takes time to get to know the marine life, their various behaviors, and their favorite hiding spots along the reef.
But as you can see, with time and patience, there are lots of ways to make beautiful diving pictures without a huge budget.
First, make sure you really love it. Then, let the games begin!
But always remember, like many great things, it’s a marathon and not a sprint.
And to clip your camera to your BCD!
